I’ve never used Kubernetes before, and for the first time, I’m using it. This is what I’ve learned so far.
For this, I did not use any cloud service. I had to create a local Kubernetes cluster and deploy an application using it.
This time, I had just set up a new system with Ubuntu, so this post contains the installation steps for Ubuntu instead of Fedora. Here are the steps:
setup
- Update the repositories
sudo apt updateprerequisites
- curl: need to download stuff over
http. - ca-certificates: need updated ca-certificate details.
- apt-transport-https: not sure why I had to install this one. ppas,
- gnupg: as the installation requires
you would need
gnupgthe details can be found here - Docker: you would need docker to run containers, although kubernetes can make use of podman and other tools as well, I just used docker, if it was fedora, I would have used podman as it comes pre installed with fedora.
sudo apt install apt-transport-https ca-certificates curl gnupg -yto install docker
# Add Docker's official GPG key:
sudo install -m 0755 -d /etc/apt/keyrings
sudo curl -fsSL https://download.docker.com/linux/ubuntu/gpg -o /etc/apt/keyrings/docker.asc
sudo chmod a+r /etc/apt/keyrings/docker.asc

# Add the repository to Apt sources:
echo \
  "deb [arch=$(dpkg --print-architecture) signed-by=/etc/apt/keyrings/docker.asc] https://download.docker.com/linux/ubuntu \
  $(. /etc/os-release && echo "$VERSION_CODENAME") stable" | \
  sudo tee /etc/apt/sources.list.d/docker.list > /dev/null
sudo apt update

# Install docker-ce
sudo apt install docker-ce docker-ce-cli containerd.io \
docker-buildx-plugin docker-compose-plugin -y- add Kubernetes ppas and install Kubernetes tools
echo "deb [signed-by=/etc/apt/keyrings/kubernetes-apt-keyring.gpg] https://pkgs.k8s.io/core:/stable:/v1.30/deb/ /" | sudo tee /etc/apt/sources.list.d/kubernetes.list
curl -fsSL https://pkgs.k8s.io/core:/stable:/v1.30/deb/Release.key | sudo gpg --dearmor -o /etc/apt/keyrings/kubernetes-apt-keyring.gpg
sudo apt update
sudo apt install -y kubelet kubectl
install kind, since it is a local Kubernetes cluster, I went ahead with kind instead of minikube
- kind is not packaged for debian, you need to install it using
go installso need to install go first. - Once go is installed, kind can be installed with
go install sigs.k8s.io/kind@v0.23.0- kind is not packaged for debian, you need to install it using
At this point I had following tools installed
- kubelet
- kubectl
- kind
I also like bash completions, so I added the alias and completions for kubectl in the bashrc.
echo 'alias k=kubectl' >>~/.bashrc
echo 'complete -F __start_kubectl k' >>~/.bashrc
At this point the installation is complete, now I had to create a cluster and deploy an application.
First thing was to create/initialize a master node for kuberenets.
girish in ~ as 👩💻 🕙 02:23:52 ❯ kind create cluster Creating cluster "kind" ... ✓ Ensuring node image (kindest/node:v1.30.0) 🖼 ✓ Preparing nodes 📦 ✓ Writing configuration 📜 ✓ Starting control-plane 🕹️ ✓ Installing CNI 🔌 ✓ Installing StorageClass 💾 Set kubectl context to "kind-kind" You can now use your cluster with: kubectl cluster-info --context kind-kind Not sure what to do next? 😅 Check out https://kind.sigs.k8s.io/docs/user/quick-start/ girish in ~ as 👩💻 took 11s 🕙 02:24:09 ❯ kubectl cluster-info --context kind-kind Kubernetes control plane is running at https://127.0.0.1:38079 CoreDNS is running at https://127.0.0.1:38079/api/v1/namespaces/kube-system/services/kube-dns:dns/proxy To further debug and diagnose cluster problems, use 'kubectl cluster-info dump'.
Once this is done, I could query the nodes using
girish in ~ as 👩💻 🕙 02:24:17 ❯ k get nodes NAME STATUS ROLES AGE VERSION kind-control-plane Ready control-plane 4m44s v1.30.0
Although at this point there are no pods running, I could check that using
girish in ~ as 👩💻 🕙 02:28:50 ❯ k get pods No resources found in default namespace.
At this point I decided to deploy local-paste which I still use.
girish in ~
🕙 01:39:23 ✖  k create deployment lp --image=girish946/local-paste
deployment.apps/lp created
girish in ~ as 👩💻 🕙 01:40:22 ❯ k get pods NAME READY STATUS RESTARTS AGE lp-6fb7957b86-pdq4h 1/1 Running 0 43s
In order to use the application, I had to expose the deployment as a service. to do that, I used the following command.
girish in ~
🕙 01:40:42 ❯ k expose deployment lp --port=8000 --type=NodePort
service/lp exposed
What this does is, it exposes the deployment lp on port 8000 and the type of service is NodePort.
I could check the service using
girish in ~ as 👩💻 🕙 02:33:16 ❯ k get svc NAME TYPE CLUSTER-IP EXTERNAL-IP PORT(S) AGE kubernetes ClusterIP 10.96.0.1 <none> 443/TCP 10m lp NodePort 10.96.9.107 <none> 8000:31788/TCP 79s
Now I could access the application using the IP of the master node and the port provided by the service.
To find out the IP of the master node, I could use
girish in ~ as 👩💻
🕙 02:34:27 ❯ kubectl get nodes -o wide | awk -v OFS='\t\t' '{print $1, $6, $7}'
NAME INTERNAL-IP EXTERNAL-IP
kind-control-plane 172.18.0.2 <none>
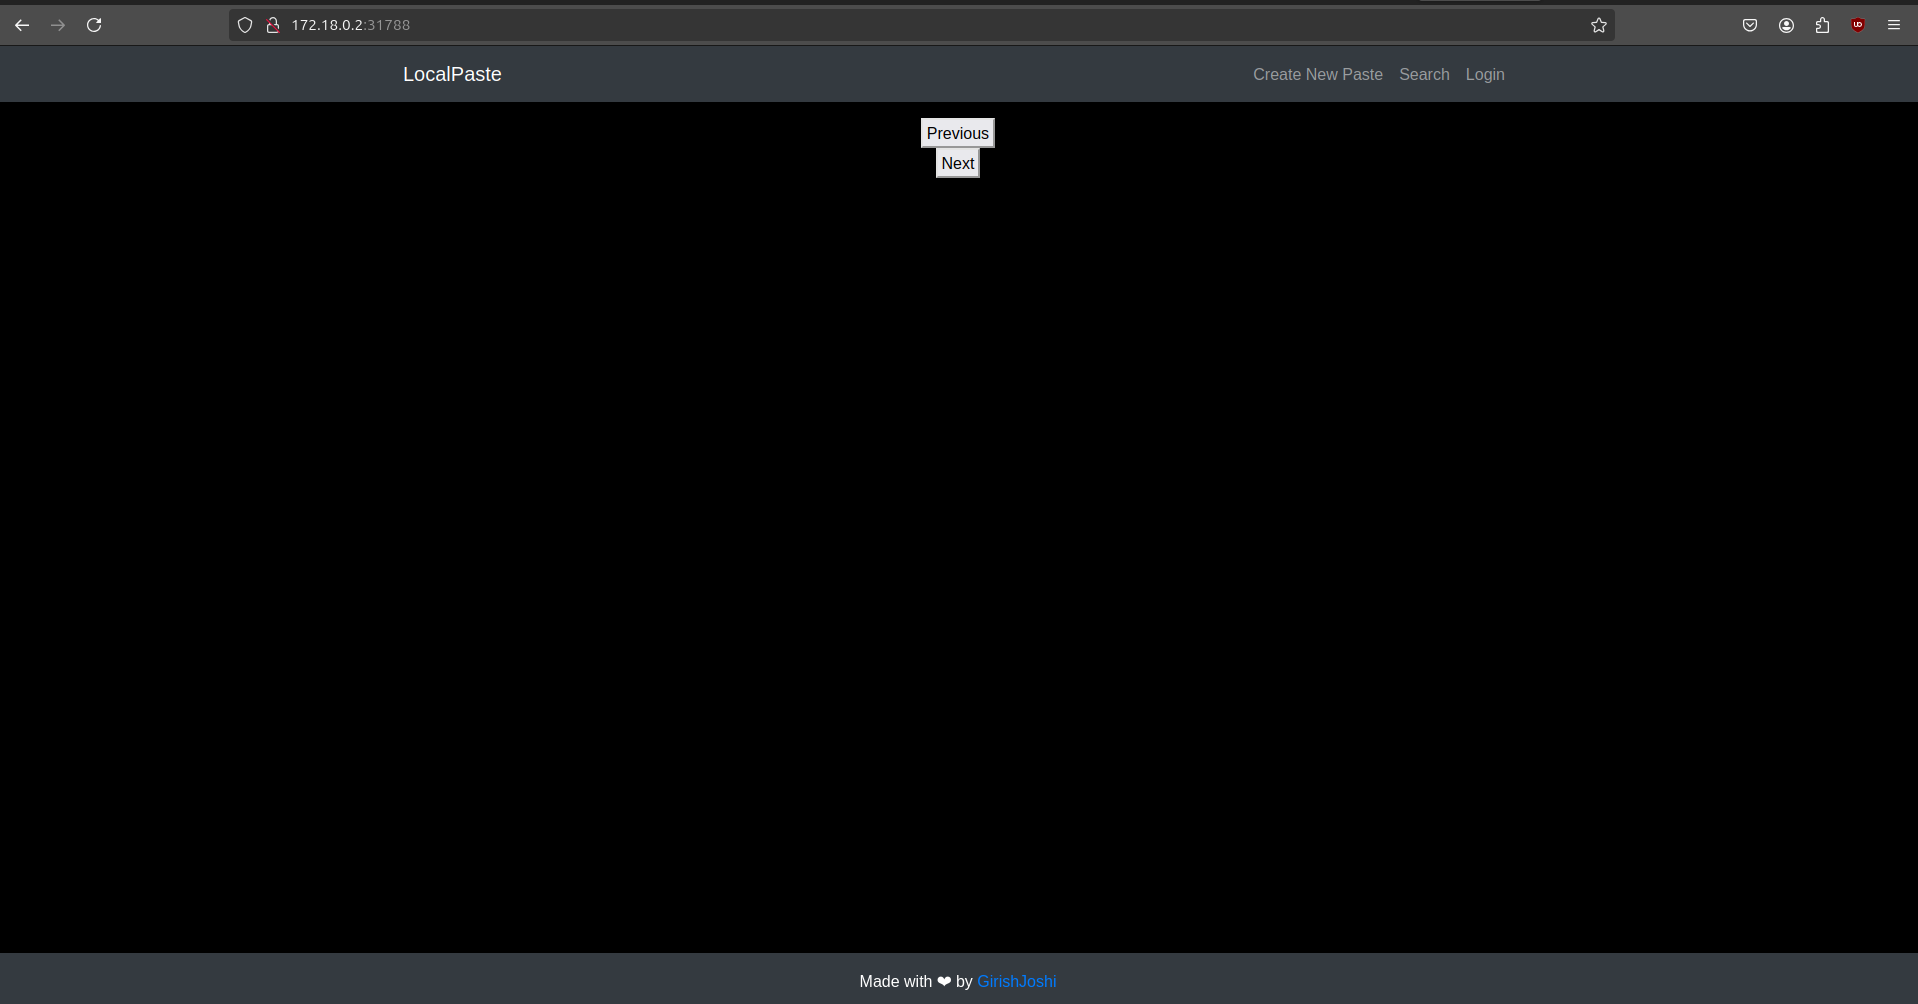
From the two commands above, the Ip and the port for accessing local-paste was, 172.18.0.2 and 31788.
girish in ~ as 👩💻
🕙 02:37:18 ✖ curl 172.18.0.2:31788/api/CreateDb
{"CreateDb": "Success"}
And now I could use use a browser to access the application.
To sum up, the Kubernetes terminology that I learnt was
- cluster: a set of nodes that run containerized applications.
- nodes: the machines that run the applications.
- pods: the smallest unit of Kubernetes, it can contain one or more containers.
Also there are multiple tools to create and manage kube clusters, I used kind for this post, but there are others like minikube and kubeadm as well.
I did try kubeadm but it was a bit more involved than kind.
Probably in the next post I’ll try to deploy a more complex application or try to deploy it on a cloud service.